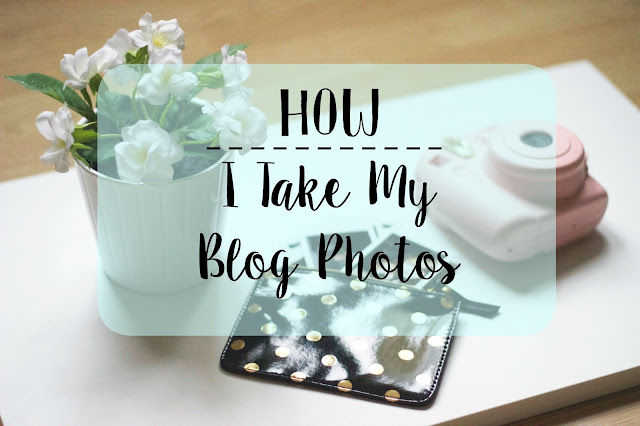
Now let's face it, I am by no means a professional photographer, but I thought it might be helpful or useful to show you how I take my blog photos!
Flat lay
I tend to do a lot of flat lay photography for my blog photos. That means that I shoot directly above the featured objects, so that it's a bird's-eye view of them. Why? I tend to prefer shooting that way because it's quite easy to master.
Background
I tend to use this white piece of wood an awful amount nowadays, don't I? It was £1 from IKEA. It's supposed to be a cupboard door, but it makes a pretty good blog photo background too! (The mystique is totally ruined now, isn't it?)
Props
Preferring to keep props pretty simple, I've got some artificial flowers (above) also from IKEA, and my Instax camera (also above) makes a pretty good prop too. There are various items that I go through phases of using in blog photos, but the flowers seem to be staying as a firm favourite.
Having said that, I think you need to find what works for you, and what goes well with the items that you're photographing. (And, let's be honest, I could probably do with broadening my horizons, prop-wise.)
Having said that, I think you need to find what works for you, and what goes well with the items that you're photographing. (And, let's be honest, I could probably do with broadening my horizons, prop-wise.)
The Kit
I normally use my Canon 600D DSLR for blog photos, but you don't necessarily need a DSLR if you're just starting out or can't afford it. I tend to shoot in aperture priority mode, with my nifty fifty (50mm) prime lens.
If you want more info, I've written an entire blog post on my photography kit (read here if you're interested!)
If you want more info, I've written an entire blog post on my photography kit (read here if you're interested!)
Lighting
Despite having an LED ring light, I prefer not to use any artificial lights, but I've got a reflector that I bought for £7.99 on Amazon. If you don't know what a reflector is, it's basically a circular white canvas that bounces light back onto the objects you're taking a photo of, so it looks much brighter. It really makes a big difference! (And if you can't afford that? A piece of white card works too!)
I take the photos on the floor in front of a window, to try and get as much natural light onto the items as possible. However, at this time of year, day light is fleeting and often blue-tinged, which is quite frustrating. The only remedies? Playing around with the white balance on your camera (often with mixed results for me) or editing, I'm afraid. Which brings me on to my next point...
I take the photos on the floor in front of a window, to try and get as much natural light onto the items as possible. However, at this time of year, day light is fleeting and often blue-tinged, which is quite frustrating. The only remedies? Playing around with the white balance on your camera (often with mixed results for me) or editing, I'm afraid. Which brings me on to my next point...
Editing
Photoshop is my best friend. Basically, I brighten things up as much as possible, by duplicating layers, and then altering the levels. (Sounds more complicated than it is, but I can always go into more detail in this in a separate post.)
If I'm adding text to a photo, like the main image for this post, I'll use the free website, PicMonkey; as it seems easier (to me) for that than Photoshop.
So, that's it! That's pretty much how I take my blog photos.
Any questions? Comment below!
Any questions? Comment below!
YouTube | Facebook | Twitter | Instagram | Bloglovin'


